30 Minutes in the Life: April 2022
This month flew past so darn quickly. I have a busy work schedule closing down a clinic and trying to keep up with everything else that is going on.
In the middle of all of this our company plans a Staff Retreat. A staff retreat is always appreciated. Our work is busy and our locations are far apart, so it is always good to be able to reconnect and have a bit of fun.
A year ago we went to a studio for some team building time together as part of our staff retreat. This year we went back to the same place. I loved it.
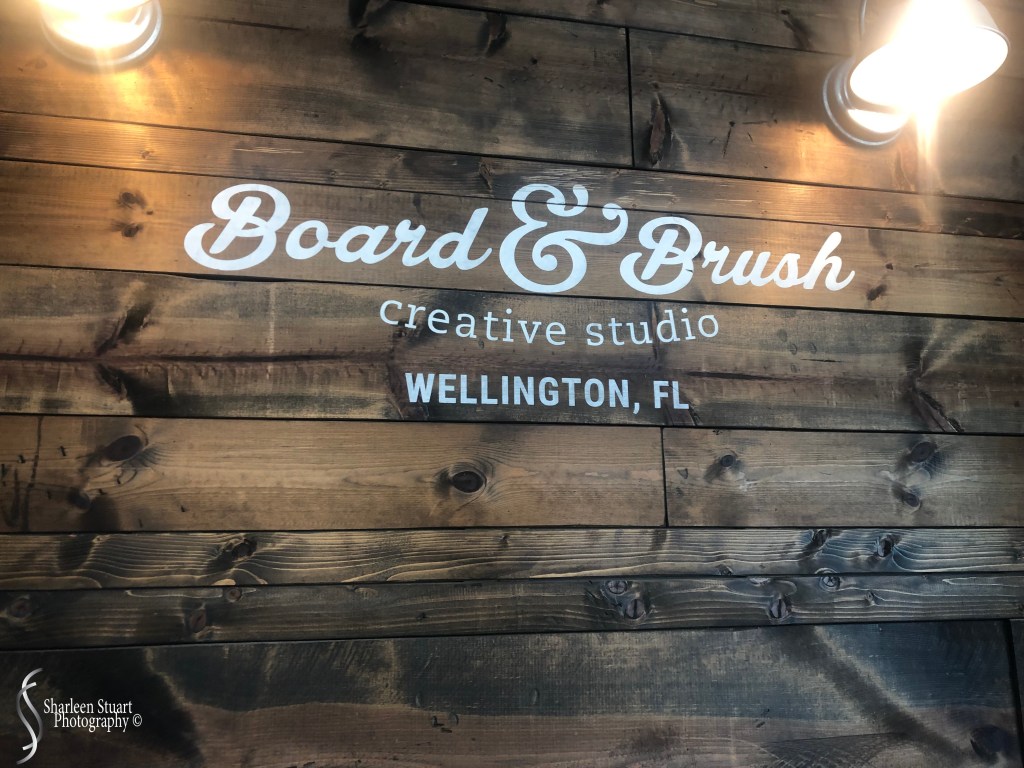
If you are ready to get messy, Board and Brush is the place to be. It is an art studio with a difference. You are creating a wooden piece of art. You can go traditional, you can go all out, you can even use glitter.
Last year I made a coffee box, this year I wanted something a little different. So per the instructions I signed up and I was given a link to choose my artwork. Since I gave the coffee box to Cameron and Kathryn last year, I decided to get Amy’s feedback on what they might like. She said she would like a tray. So that is what I picked.
The day arrives and it starts out with coffee and donuts at Dunkin Donuts. I missed that due to a serious accident blocking my commute. So no problem. I did a U-turn and found another route to follow and arrived just as everyone was setting up. I checked in and was shown to my project.
I had taken my camera, but opted not to use it because it was going to get messy and I did not want to appear like the camera queen. So I used my phone. All pics shown below are taken with my iPhone 11.
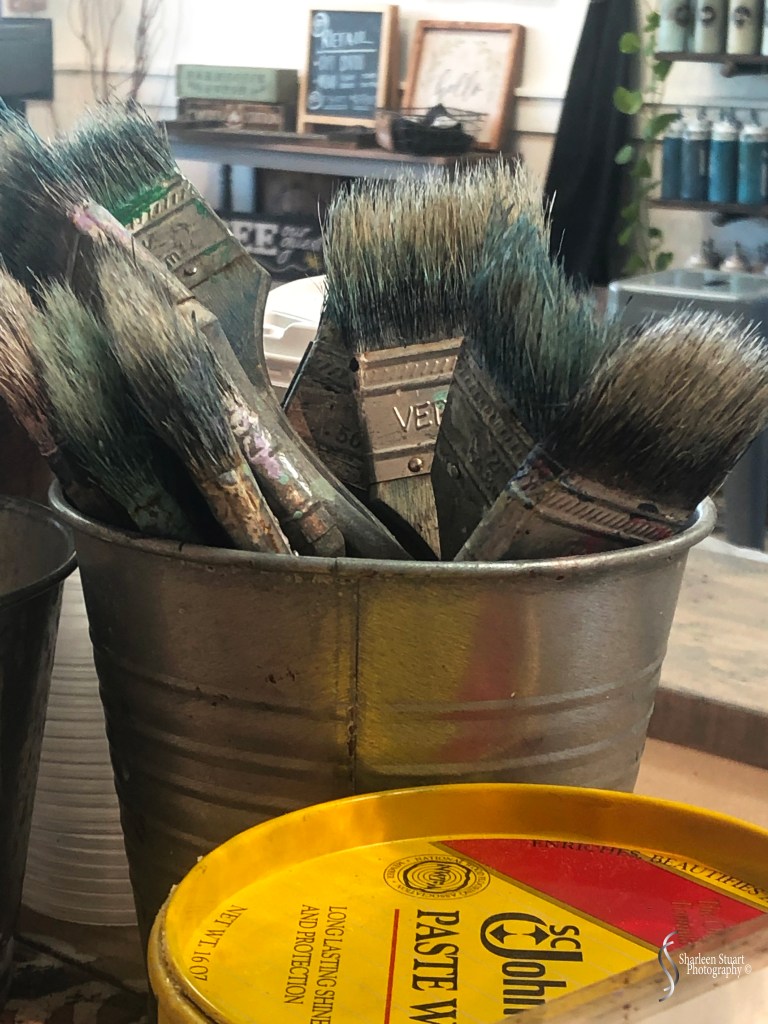
Welcome to Board & Brush, where you are guaranteed to get messy and have a whole lot of fun. First things first you need to check that your template says exactly what it is supposed to say. If you are happy, your template is whisked away so that it does not get messy. Then the fun begins.
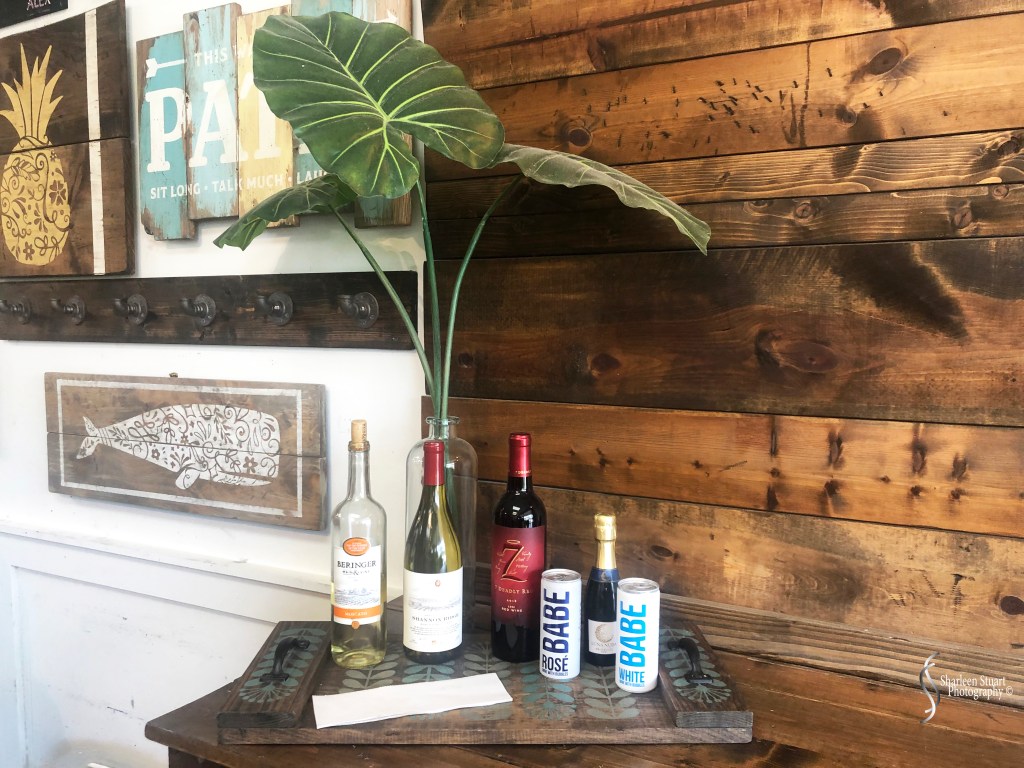


If you are doing one of their classes the option to additionally enjoy yourself is there. Ours was a morning class and the beverage was coffee. I am not sure that I would want to add alcohol to the mix. I tend to get serious about my art projects. But back to the fun part….

On the table in front of you, you have a selection of tools – a hammer, some chicken wire, 2 types of meat mallets, some screws and a piece of chain and you are going to spend some time destressing your piece of wood. Now I learned from the last time not to do any destressing where you are going to have text, because the paint can bleed. So I opted to use the chicken wire in the corners, and to take the mallet and bash up the edges of the tray.
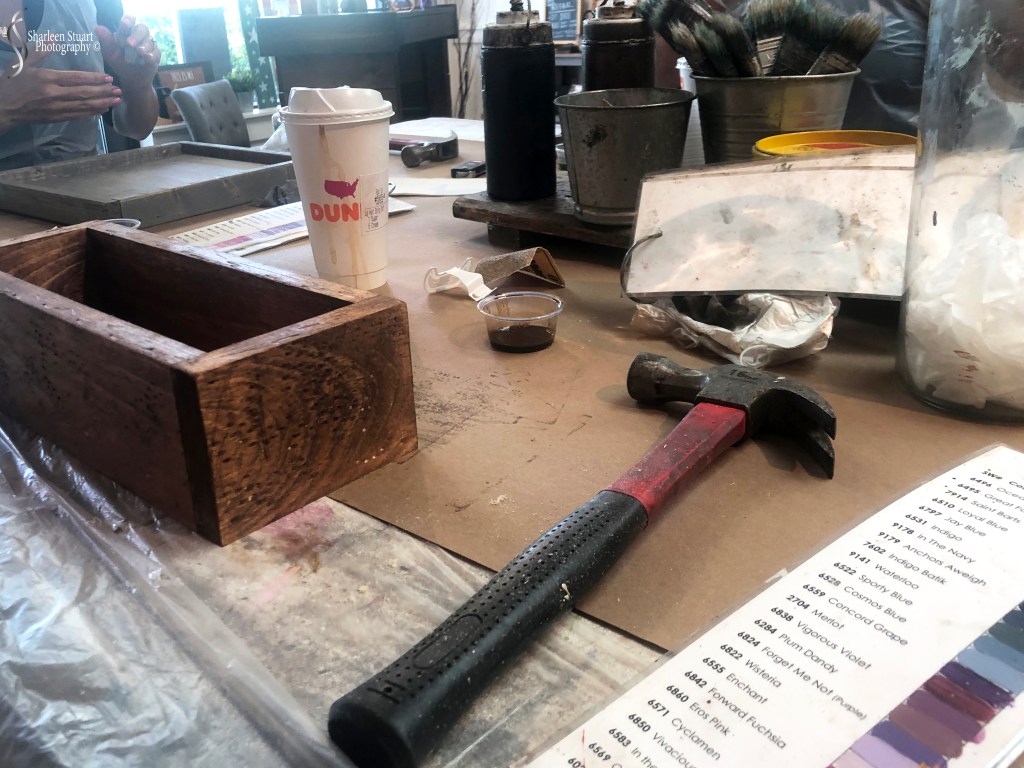
My coworker had a blast destressing her box. This box was similar to what I turned my coffee box into last year. I went with a very dark ebony and did they writing in a cream color. My coworker turned hers into a movie night box.

Next step is to take some sandpaper and smooth off all the rough edges and get rid of the little pieces sticking out.
Gloves on for this part. Now we are going to stain the wood. There were a variety of different stains going from a dark ebony to a light natural wood, and also including some gray stains as well. Amy had said to keep the tray just light the picture, which was a light center and darker edges. So I choose a lighter stain for the wood.

You’ve picked your color stain, next up is to pick up a brush and get busy staining. It is such a neat feeling to get into the project and watch it slowly come to life. Of course, my first move was to tip the stain over. Luckily the paper is thick and I was able to just pull it up from where it landed.
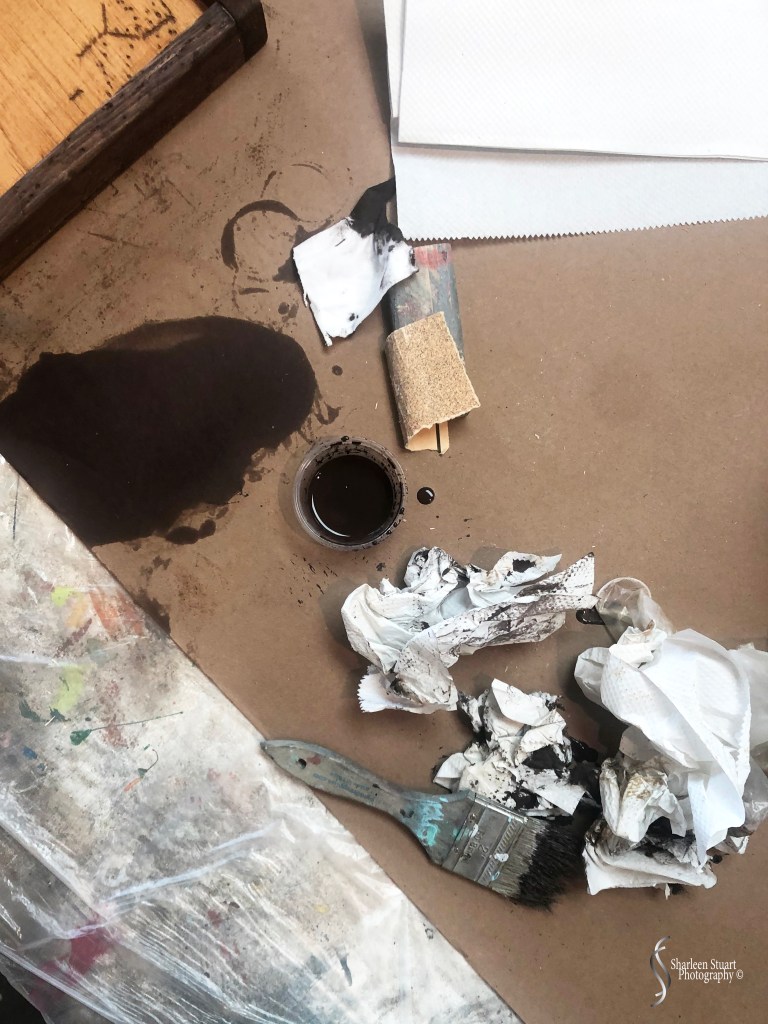
Once that was done you had the option to leave your article as it was or to accent it. For me that was to do a color wash. I wanted the edges of the tray a darker brown to the inside. This is the messy part and it takes some concentration because you do not want to mess the color on the inside of the tray. They decided to test it on the back of the tray to make sure I was happy with the color. What happened was that she went outside the lines, (my lines that is) so I ended up doing a color wash on the entire base of the tray, along with the sides. For some reason I forgot one inside and had to do it at the last minute. Anyway, you paint on the color wash and then take some paper towel and wipe away the excess of the paint, making sure that you are happy with the end results.

Next comes the stencil. First you have to choose the color that you want on your project, and as you can see there is a huge variety. I opted for the same color I had painted the edges. I wanted it to pop on the lighter wood.
Taking the stencil apart is probably the hardest part of the whole project. I, of course, choose a project with a lot of words and there had to be some careful maneuvering to make sure that all the little pieces stayed in place. First you take off the back. Then you lay down your stencil. Then you have to peel off the front. All the while you are making sure that it is not sticking to the plastic. My coworker and I tucked the plastic up under the paper.

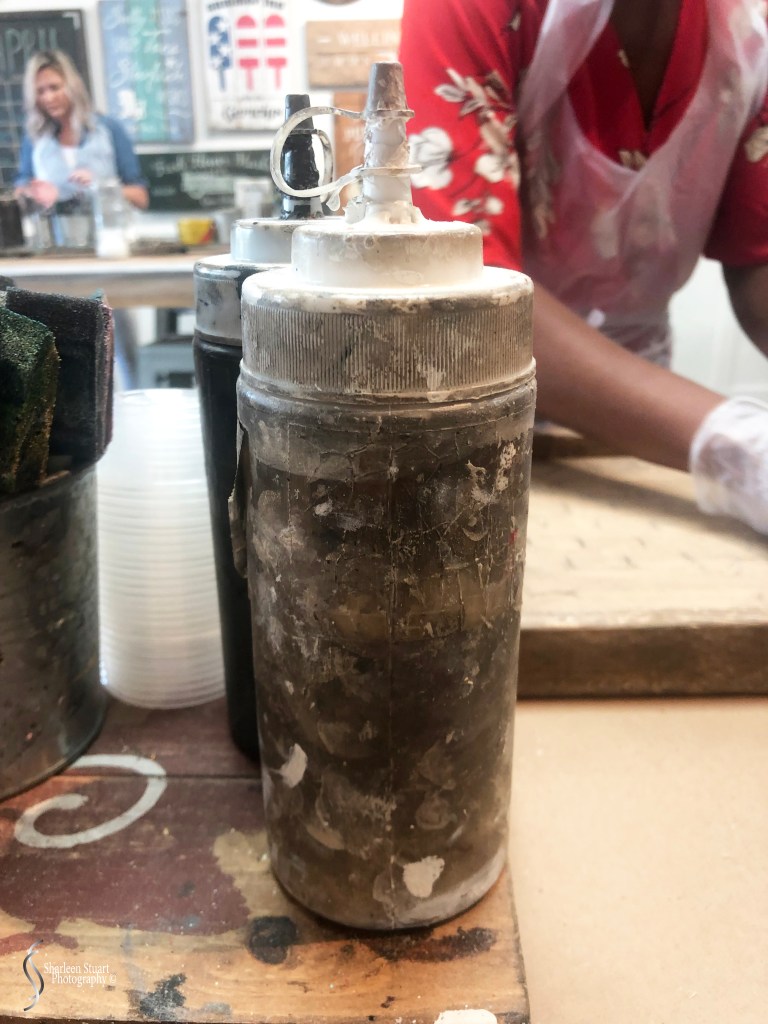
Once the stencil is in place, you then take one of these sponge brushes and dip it in the paint. Then you get the excess of the paint off the sponge by wiping it on the brown paper. Then using a tapping motion you begin to cover the letters of your stencil. Once you are finished you repeat the process.
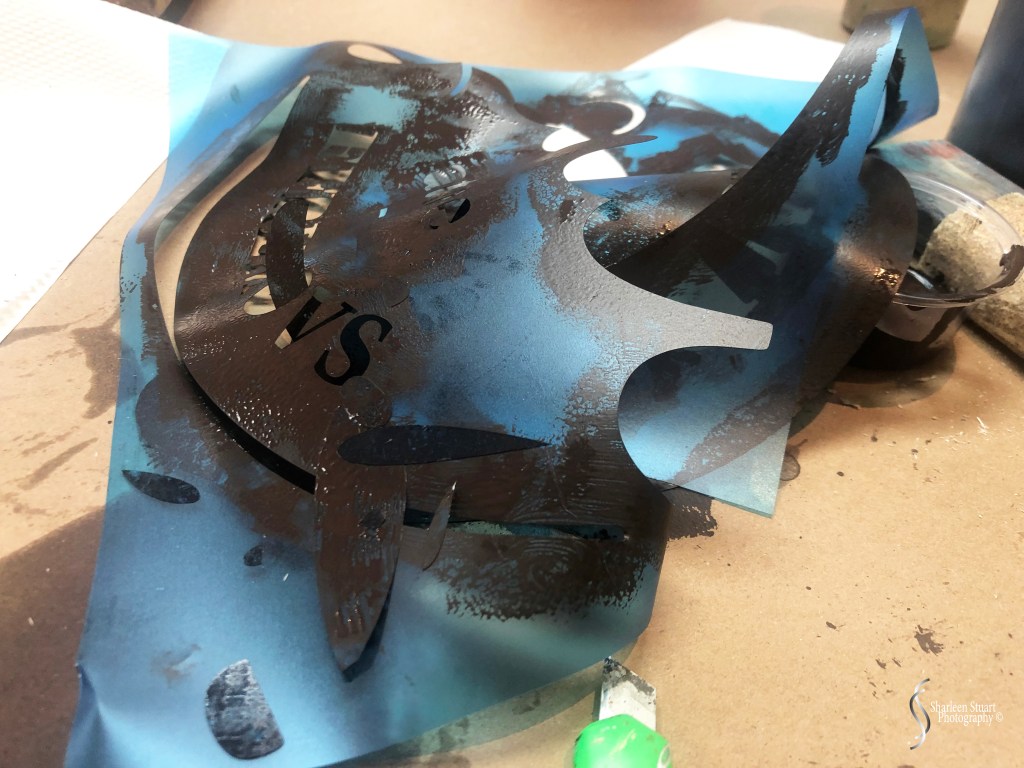
Next comes the ripping off of the stencil. Then you have to take one of those little sharp cutting knives and remove any parts of the stencil that has stayed behind. Like the center of the “e” or the “h” or the “g”. I spent a bit of time with a sharp knife, cleaning up a couple of bleeds that happened when I was lifting these little pieces.
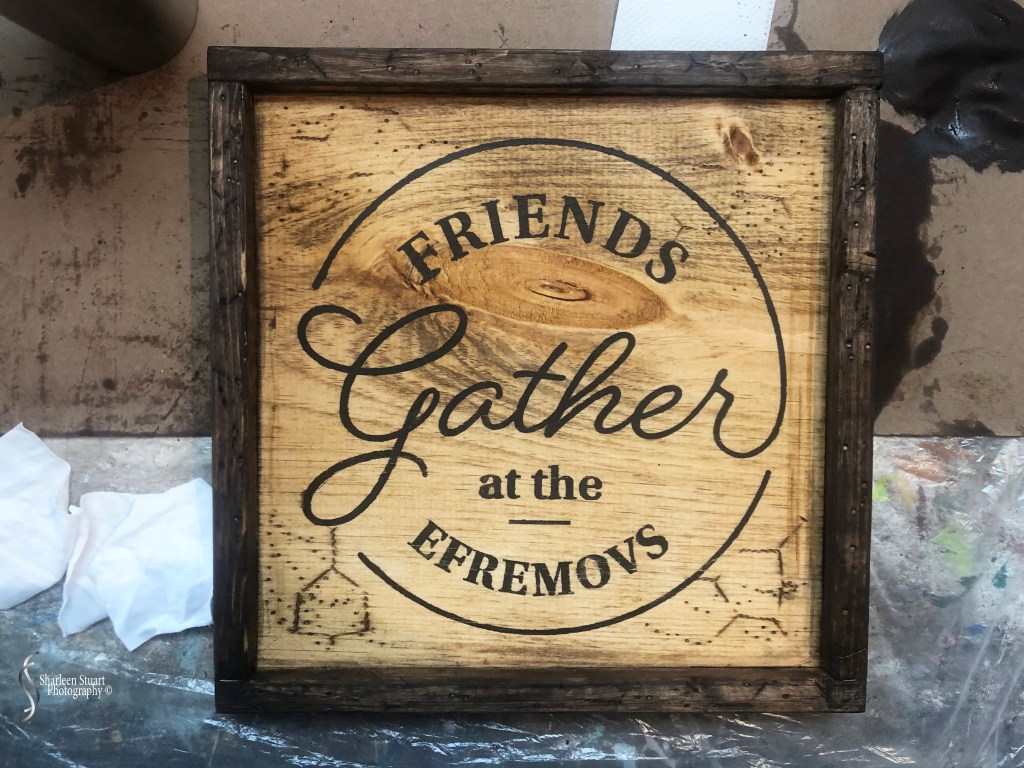
Suddenly you have a project that is starting to take shape. But we are still not finished. Once that is done you take your sandpaper and gently sand the text to get a destressed look. I did not do it very hard, and probably would not do it given the choice again.

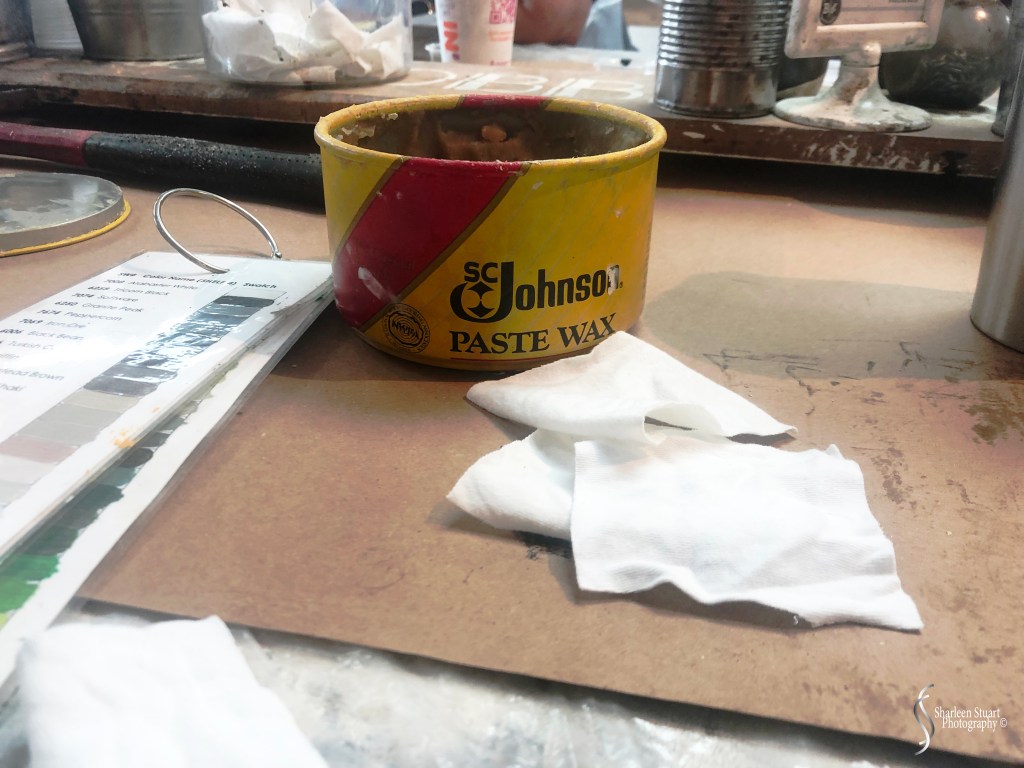
Next step is to grab some cloth out of the silver bucket and to start waxing your project. The wax smells strong and when finished it feels like it has brought out the color of the wood and leaves a nice shine on the project.

Last but not least, I got to play with the power tools. Actually, it was not working well for me so I had a friend help me. I had to screw in handles on the side or the project and holding and trying to screw in the little screws is not a one man endeavor.

Finally, I have a finished project. All I have to do is put their stamp on the back of the tray and I am done. I love this kind of activity and I hope we get to go back there again next year. However somewhere in-between I would like to go back on my own and do a 3 hour project, where there is a bit more involved. Below is the project that I would like to create next time around.

Since our class was a 2 hour project this was not an option for me, but I love the idea of building a charcuterie tray for myself.
I am grateful to our decision makers that they chose this venue again for our staff retreat. It is fun and you get to walk away with something of your choice. Added to that we ended off our day with lunch at a local restaurant. From there I headed to the day care to pick up my little man and have some Luka time. Overall I give the day a 10 out of 10.
If you have a Board & Brush near you, I would encourage you to check it out and see if there is something you may want to do. And a shout out to our local Wellington team, who are efficient, helpful, encouraging and super organized. They were awesome.
Thank you for joining us, 30 Minutes in the Life is a circle blog and we have some very talented photographers in the group. I always love looking at the sneak peaks and I cannot wait to see the rest. Take some time to follow the links and see what she have for you this month April White Photography is up next, and I look forward to seeing what she has to share.
You can also find me on Facebook, and Instagram.
One Comment on “30 Minutes in the Life: April 2022”
Leave a comment
Recent Comments
Flickr Photos


Share Six Blog Contributor
30 Minutes in the Life Blog Contributor

Tell Me a Story Blog Contributor


Pingback: 30 Minutes in the Life: April 2022